Table of contents
Introduction
What is this Mindsdb, and what it does I have a lot of questions. I think you have too. Let's see and explore more about MindsDB. Also, how should I integrate the GitLab handler for the MindsDB repository and what is the journey of contributing to MindsDB.
What is Mindsdb???
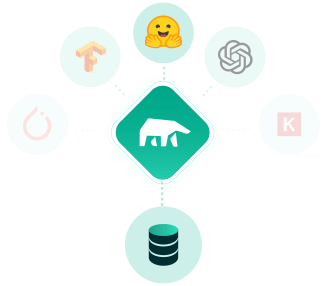
Mindsdb is a platform that enables the use of your database data to make forecasts. MindsDB supports so many databases (data handlers). Its intuitive interface enables users to create and train machine learning models using SQL.
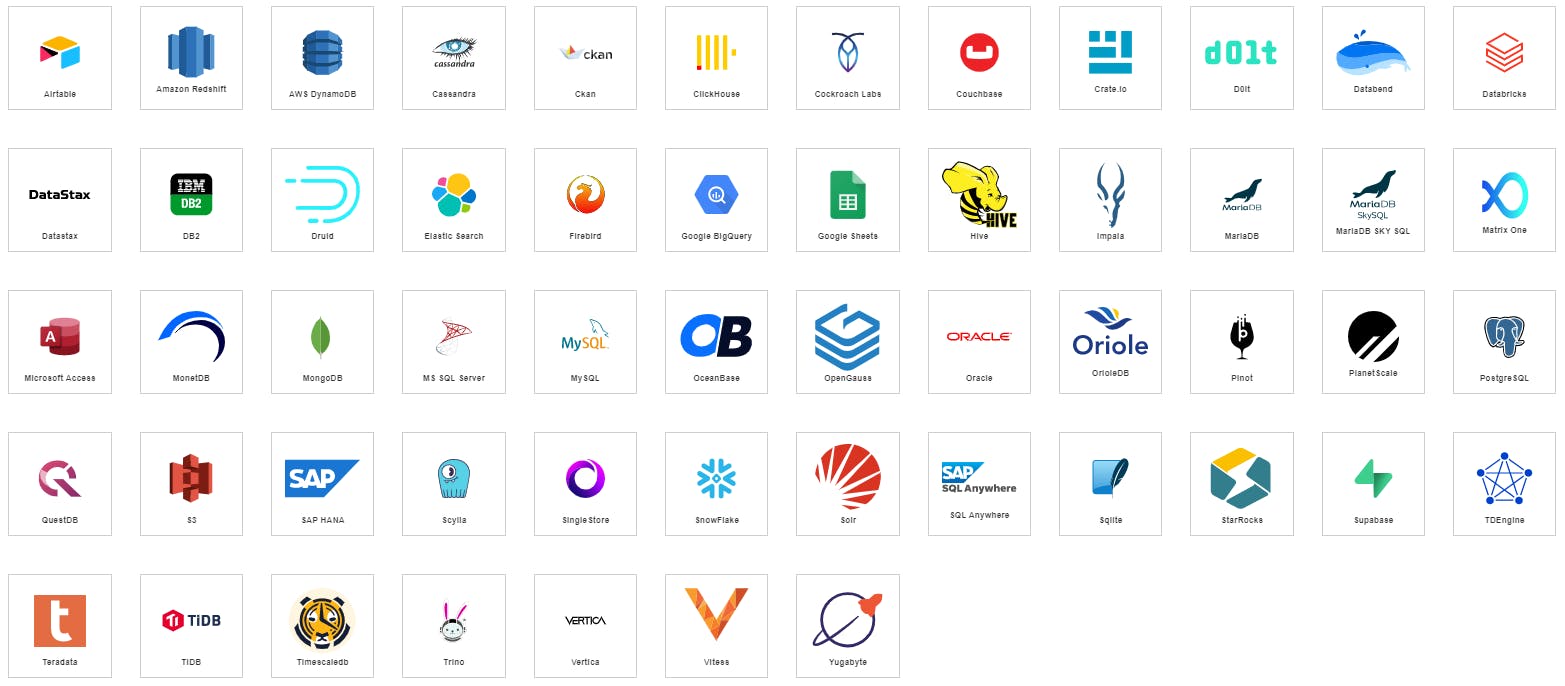
Other than databases it supports application integrations. Here you can do predictions, forecasts, etc using application API.
With MindsDB, you can build, train, optimize, and deploy your ML models without the need for other platforms. And to get the forecasts, simply query your data and ML models.
MindsDB uses the concept of AI Tables to employ machine learning in databases. AI tables are machine learning models used to extract useful information from tables of structured data such as scientific observations, business transactions, physical entities, etc. So MindsDB uses this concept. I think now you have a little bit of an understanding of what is MindsDB.
Deep dive into the AI tables.....

Application Integrations
In application, integrations connect MindsDB with applications and do machine learning prediction. As an example, we can take twitter integration. Here we use twitter API for fetching data to MindsDB and running machine learning models. Check out the tutorial on how to create a Twitter chatbot to see one of the interesting applications of this integration.
Contribution Journey
MindsDB is a great application and a helpful and active community to interact with. So, I think gave my contribution to implementing a new application handler to the MindsDB. I selected the GitLab Application handler.
Get an understanding of the system
To start my contribution journey with MindsDB, I began by delving into its documentation and running it as a user, which was a breeze due to the availability of a Docker image. I then familiarized myself with the codebase's structure by perusing its contribution guide and reviewing issues suitable for contributors.
Setup development environment
MindsDB has great documentation. It helped start my contribution.
First of all, run MindsDB. Here there are two methods.
-
MindsDB Cloud is a service hosted by MindsDB. It contains all of the latest updates and provides a handy SQL editor. You can sign up for a free account at MindsDB Cloud here.
-
When we use the self-hosted method there are the following options
Any of the following methods can be used.
For development purposes, MindsDB preferred the installation from the source installation method. So I use that method. Here is a quick guide for a setup development environment using pip.
# Create a new virtual environment and active it
python -m venv mindsdb-venv
source mindsdb-venv/bin/activate

# Install MindsDB prerequisites
cd mindsdb && pip install -r requirements.txt

# Install MindsDB
python setup.py develop

# Verify MindsDB installation starting MindsDB server
python -m mindsdb

GitLab Integration?
GitLab is the most comprehensive DevSecOps Platform. GitLab API is used to fetch project data. For example, think we need to do ML analysis for project issues. We use the MindsDB issue table generated from GitLab API for the prediction, forecasting and run ML models. This is the basic purpose of GitLab integration.
How do I develop GitLab Integration?

Here GitLab project issues record in MindsDB issues table. Issue no, title, state, creator, closed_by, labels, assignees, etc. available in the issues table. Those data can be used for the machine learning models.

How does it work?
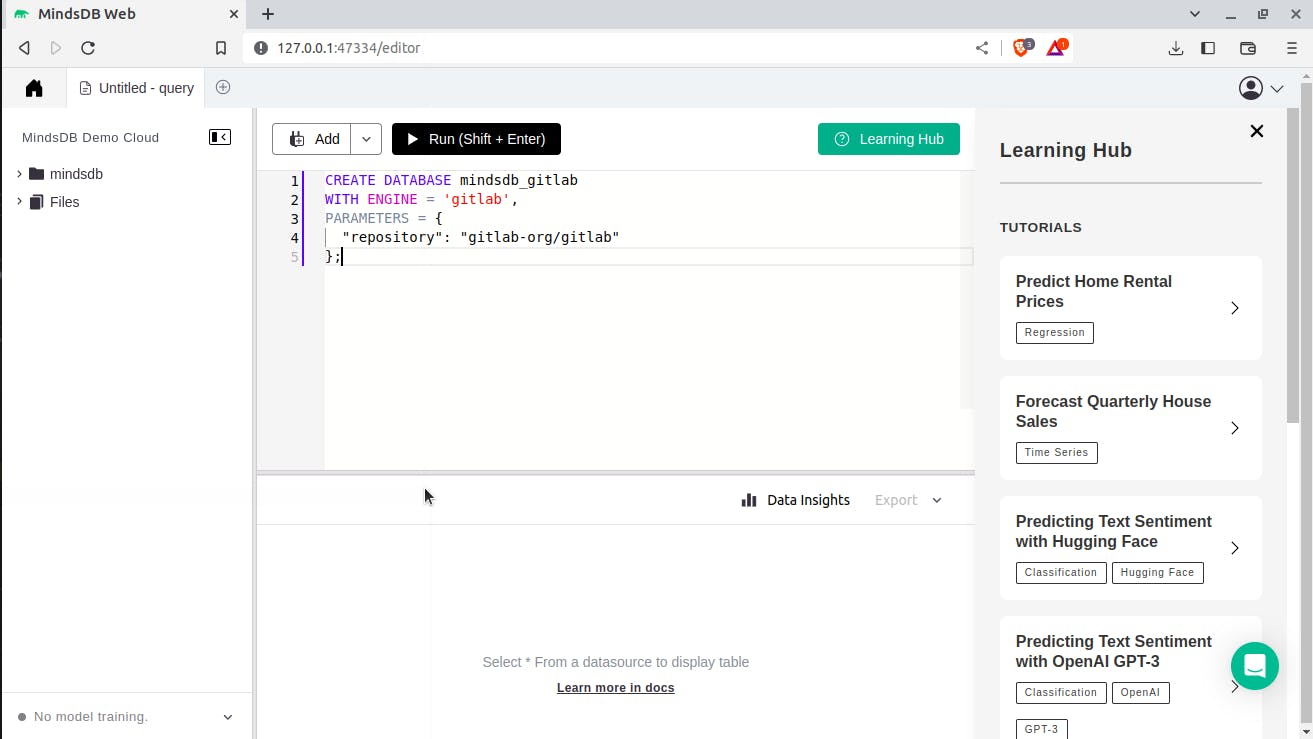
After running the MindsDB successfully you can access MindsDB studio using the http://127.0.0.1:47334/. It looks as follows.

Create a GitLab database using the following command.
CREATE DATABASE mindsdb_gitlab
WITH ENGINE = 'gitlab',
PARAMETERS = {
  "repository": "gitlab-org/gitlab",
  "api_key": "api_key",    -- optional GitLab API key
};
Now, you can use this established connection to query your table as follows,
SELECT * FROM mindsdb_gitlab.issues
SELECT number, state, creator, assignee, title, labels
  FROM mindsdb_gitlab.issues
  WHERE state="open"
  ORDER BY created ASC, creator DESC
  LIMIT 10
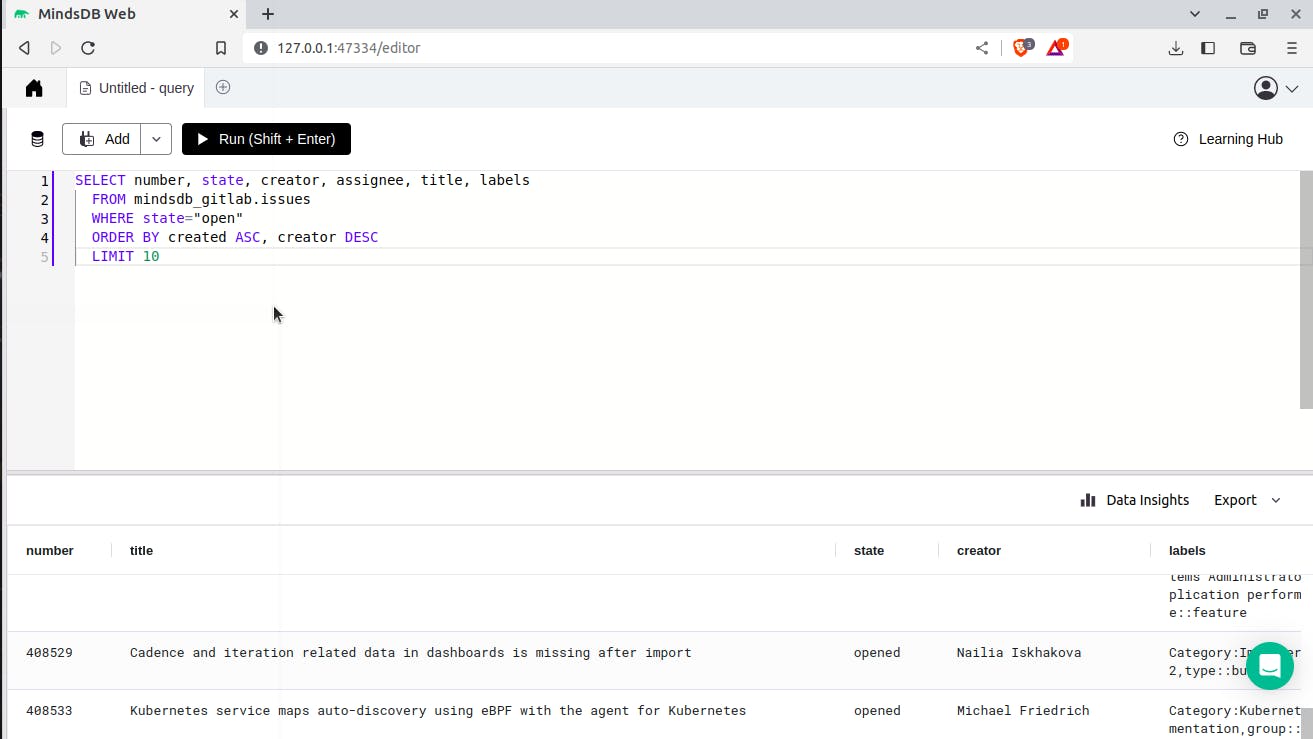
Oh... Implementation is done.

Testing GitLab handler
Here I did manual testing using the GitLab repository. Tested both private and public repositories. Because the private repository needs a GitLab API key. Another effective method was writing tests during the development process. Testing is a very important step. Because it helps to ensure that your handler is functioning as expected and identify any issues related to development.
Experience
Yeah, I have great experience engaging and raising a pull request to the MindsDB. I have to learn a lot throughout the entire process of raising a pull request. It's a great opportunity.
Learnings
As I mentioned at the beginning of the article I have a lot of questions in my mind. Most of them are clear right now.
What is MindsDB and what should it do?
Concept of AI Tables
How to connect any database to MindsDB (This is not relevant for this pull request. But I have a huge curiosity about it. So I explore that.)
The next biggest question in my mind was is that MindsDB record all the data fetched from application integrations in any database or does the predictions live data fetchings. Yeah, its models run using the live data. All thanks to @Zoran. He clears my doubt about this scenario. 👏
What is next
Here now GitLab handler supports only the GitLab issues. As the next step, I'm going to implement merge requests, commits, etc. I'm looking forward to it.
Conclusion
In this tutorial, we explored what is MindsDB, its importance of it and how do I raise a pull request for GitLab app integration.
Readings...
Explore the repository or contribute to any issue raised or
Lastly, before you leave, don't forget to drop a like or a comment below if you had a great time reading.
Thank you MindsDB and Hashnode for organizing such an amazing event.
Thank You! ❤️
